Jackie Watkins

the dream quilter

Instructions for Sewing Your First Coiled Bowl

Instructions for Sewing Your First Coiled Bowl

By Jackie Watkins

(as taught to her by Leanne Green)

Supplies needed

  • Clothesline (Diamond Braid Clothesline, 3/16” x 100’, cotton and polyester blend (Purchased from Wal-Mart for about $5) 
  • Washable school glue stick
  • Scissors
  • ¾ to a yard of fabric cut into ¾” strips (on the bias if using yardage) (depending on size of the bowl desired) This amount of fabric usually covers the entire package of this clothesline.
  • Aurifil or King Tut or a strong thread, one spool (will require at least three bobbins for a large  bowl)
  • Needle – 90 or 100 jeans or topstitch
  • Sewing machine that will make a zigzag stitch and penetrate the clothesline.  (Feed dogs up.)
  • Masking tape
  • Finishing embellishments as desired
  • Two thin pins
  • Stiletto

HOW TO WRAP THE CORD

  • Cut fabric strips from ¾ yard to 1 yard of fabric on the bias (if using yardage).  (It is easier to wrap the cord if the fabric is cut on the bias.  It is not necessary to do so, especially if you are using scraps, or if you are using a coordinated jelly roll.)  When using scraps, you may want to consider that the bottom of the bowl will have smaller revolutions than the sides.  Therefore, you might want to use shorter strips at the beginning so that your revolutions will have a scrappy look.
  • If you are starting out with new cord, cut off the first tip.
  • Pull out about an inch of the inside stuffing.  Cut that stuffing off and discard.  (This will help make a tighter coil when you are first starting out making your bowl.)
  • With washable school glue, glue liberally about an inch or so of the cord.
  • You can also add glue to your fabric for about an inch or two.
  • The bundle of cord should be on your right.
  • Place cord on the fabric strip so that the long fabric tail is to the top; and there is enough fabric on the left to fold over the tip of the cord; fold that short piece over the tip; the short (about an inch) bottom tail should be folded over front to back and glued to the cord; then the long tail should be wrapped around the cord from the back to flip over to the front, and maintain that motion until the whole cord is wrapped, adding fabric as explained next.
  • To add a fabric strip that is cut on the bias, place glue on the last inch of the fabric strip that is exposed (the side that is facing you.)  Place the new fabric strip on top of that one.  Continue wrapping. 
  • This is a personal preference, but it is easier to hide any fabric tails if the top of the strip that you are adding has the slanted angle going from the top to the left side.  If it is not that way when you get to that point, simply cut it that way.  On fabric that is not cut on the bias and has a straight edge, it is easier and makes a neater basket if you cut the angle described above on the fabric strip to be added.  It is not necessary to do anything to the bottom edge of either kind of fabric strip.
  • When wrapping the cord, I like to slide the glue stick along the cord, wrap until I get to the end of that, slide the glue stick along the cord again, and continue with the wrapping.  Others like to wrap some, then add a dot of glue, wrap some, add a dot of glue, repeat, repeat.  Do what works for you.  I just find it is easier to wrap and maintain control by sliding the glue stick along the cord. 
  • When making a bowl from only one fabric or a lot of scraps, it is easier to wrap all the cord in advance of sewing.  Then make your way to the sewing machine to make the bowl.  Wrapping can be done while a passenger in the car, in front of the tv, etc.
  • Once finished with wrapping fabric around the cord, rewind the line back onto the holder starting with the last wrapped cord to the first.  Be careful to wrap without twisting the cord.  It will be easier to maintain the integrity of your bowl as you sew if you avoid any twists in the wrapped cord.. 

SEWING THE BOWL

Setting up the machine:  

  • Begin with a new needle.  It should be sharp and sturdy.  A topstitch (90 or 100) or jeans works best.
  • Use an open-toe  foot if you have one.  This is helpful at the very first, but not totally necessary.
  • Set the machine to stop in the needle down position (to hold your place secure when you stop).
  • Set your zigzag stitch to something wide enough to hit both sides of the clothesline.  I have a Janome and have been using a stitch 4.3 or 4.4 wide and 1.3 or 1.4 length between stitches. These settings produce a very, very stiff bowl.
  • Use a strong thread such as Aurifil or King Tut.  This project takes a lot of thread, so make sure you have a new spool.  Generally, you will use at least three to four bobbins for this project.  Consider cleaning the machine at the time of changing bobbins.  This project can generate a lot of lint depending on fabric and thread choices. 

Getting Started:

  • Coil the covered clothesline tightly into a spiral at least 4 times.   
  • Insert thin pins at the 12:00 position and the 3:00 position to hold the coil in place temporarily.
  • Sew an “X” through the coil between those pins with a straight stitch to stabilize the coil.
  • You will not be able to see the pins, so be careful.  Do not allow the needle to hit the pins.  In fact, you may have to remove the pins as you sew  your “X”.

Starting to Sew:

  • Place your coil under the presser foot with the tail of the clothesline on the right side of the needle.  Note:  This step is very important.  You will not be able to sew the bowl if the clothesline is being fed from the left.  
  • Start sewing from the center with the zigzag stitch making sure that alternating stitches hit the adjacent part of the coil.  You will find that your stitches hide the straight sewn stitches, so it is not necessary to attempt to remove those straight stitches.   
  • Sew slowly at first and readjust as necessary to make sure you are hitting the adjacent coil.  This will be tedious for the first 2 rounds and becomes easier as the size of the sewn coil gets larger.  
  • After zigzag stitching the stabilized portion of the coil (first few rounds), in the needle down position, lift the presser foot and tug lightly on the clothesline to uncoil the unsewn clothesline from around the needle.  This only happens at the very center portion of the bowl.  Performing this step is a necessity and will make the rest of the sewing process much easier. 
  • Missed stitches will lead to holes in the bowl.  If you see you have missed catching both sides, fix that spot immediately.
  • Increase speed as you become comfortable sewing along the curve of the coil, maintaining control.
  • Keep sewing with the coil in the flat position for a minimum of 16 rounds.  
  • Stop, clip threads, and place a piece of masking tape marking a line from the center of the bowl pointing out to the edge.  By holding up to the light, check your project to make sure there are no holes where the stitches did not catch both sides of the cords.  If there are holes, zigzag over those places at this time.
  • Continue stitching flat until you have reached the point that the masking tape is pointing towards.  

Forming the Sides of the Bowl: (There are three hand positions you will need to use.   These three hand positions result in a bowl with sides going relatively straight up.  The shape of the nose of your sewing machine will also dictate the shape of your bowl. Enjoy the process.)  

First Position:  With your left hand, lift the coil off the sewing surface about the width of the thick part of your hand.  Using the masking tape as a guide, sew one complete revolution around the coil.  STOP here to reposition your left hand.  

Second Position:  Lift the coil at a steeper angle (around 45 degrees) from the sewing surface.   Begin sewing again for one complete revolution around the coil.  STOP here to reposition your left hand.

Third Position:  Lift the coil to a point touching the top edge of your sewing machine.  Pick a point that you can comfortably maintain because this is where you will need to hold the coil for the rest of the bowl.  

  • (NOTE:  When you have made an additional 10-14 rounds, and probably at a time you are changing your bobbin, place another piece of masking tape on the side of your bowl in alignment with the first one so that you can maintain a visual as to where you start another revolution.  This is important if you desire to use the Fourth Position explained below or when you are ready to finish your bowl.)

For a bowl with the top curving to the inside, use the fourth position.

Fourth Position:  While you are at the beginning point of another revolution, push the top of the bowl into the top of the machine for the last three or four rounds (or more).  This causes the top of the bowl to curve in.  Sew very, very slowly.  It is difficult to maintain the bowl under the pressure foot but is worth it for a different shaped bowl.

Ending:

  • You have choices of how to finish your bowl.  This is where your creative artistry takes over. 
  • For a “no frills” look, determine from your masking tape where a new revolution will begin.  About 4 inches before that stop sewing.  Measure four inches of your cord and then cut it there.  Pull out about an inch of the inside stuffing from the cord.  Cut that stuffing off.  Rewrap the cord, using glue stick liberally, and make sure that the end is well hidden.  Hold the cord in place to the rim of the bowl.  Use pins to hold it in place.  Zigzag stitch these last four inches to the bowl, decreasing the zigzag width if you wish as you get to the end. 
  • Or, you can end your bowl by using your own creativity.   It is totally your choice.  Pinterest is full of ideas (and so are you!)

Tips:

  • Position your chair and sew directly in front of the needle.  (Not to the side)
  • Make sure the stitches catch both the left and right sides of the clothesline to avoid holes.
  • If you miss a couple of stitches in a row, such that a hole is visible, go back and sew over the area of missed stitches.  It is easier to do this on the bottom before forming the sides. 
  • Keep the clothesline feeding loosely. The machine should do all the work of pulling the clothesline along.  You should not have to pull it or force it into place. 
  • If the clothesline gets in a bind while you are sewing, stop immediately and make sure that it can feed through unobstructed.  When the clothesline gets in a bind you can break a needle, and it will cause the bowl to be misshaped.  
  • You will need to stop sewing periodically and untwist the clothesline.  This is normal and the reason for sewing in the needle down position.
  • If you need to stop, it is best to make an entire revolution (using the masking tape as a guide) before stopping.  This is because the position of your left hand needs to be consistent all the way around.  
  • Relax your shoulders and keep sewing around and around.  
  • Use a quilting glove on your left hand for control, if desired.
  • When adding beading to the top of your bowl, place the beads on a beading wire.  Measure the circumference of the bowl and add an inch or two for the length of the wire.  This is because beads will take up some slack in the wire causing you to need a little more wire than just the initial measurement of the circumference.  Place beads on the wire to get the spacing correct.  Tie off with loops, discarding the extra wire.  Hand sew the wire to the basket, not the beads.  Flat beads work better than barrel-type beads, but if wire shows, simply add spacer beads.  I usually don’t cut off the wire to size until getting to the end of sewing the beads to the bowl.
  • When unwrapping the cord, avoid pulling it off to the side.  Instead, remove the cord by flipping the holder over and over again.  This avoids twisting.  Do this both while you are wrapping the cord with fabric, as well as when you are using the cord while sewing your bowl.
  • Just so you know, the design of your sewing machine will play into the design of your bowl.

Resources I have come across: 

Quiltmaker, November/December 2018, pages 17-20.  Contains instructions for a trivet and mug rug (or ornament). 

Fons & Porter’s Love of Quilting, March/April 2007, pages 80-82.  Contains instructions for coiled fabric bowls.

YouTube videos:   Some are by Mr. Domestic, Crafty Patti, and so many more.  (I will comment that I like Leanne’s method of wrapping the cord more than any other beginning method I have come across.)

Facebook groups:  Rope Bowl Addiction, Fabric Wrapped Rope Crafts, and probably many more.

Books:  It’s a Wrap by Susan Breier.  It’s a Wrap II by Susan Breier.  Sewing Pottery by Machine by Barbara Warholic.  Make It Easy by Pam Fischer Hughes

Comments

Once you have mastered the basic bowl, what’s next?  Try making wine caddies, doll beds, artistic endings, weaving fabric between the rows, square bowls, trivets, coasters, wall hangings, crosses, snowmen, cat beds, different sizes, adding fabric on the bottoms, purses, beach bags, different shapes, and more.

Rope suppliers:

Wal-Mart.  Rope.com.  Mountain Thread Company.  Dollar stores.  Hardware stores.

Warnings

This can be addictive.

Do not microwave projects that are not made totally of cotton. 

Thanks to Leanne Green for the original class, instructions and inspiration.
Triaxial Weave – Written Instructions

These written instructions supplement the video https://www.youtube.com/watch?v=hxqiXfwfUEE  on the Triaxial Weave – tumbling block pattern.

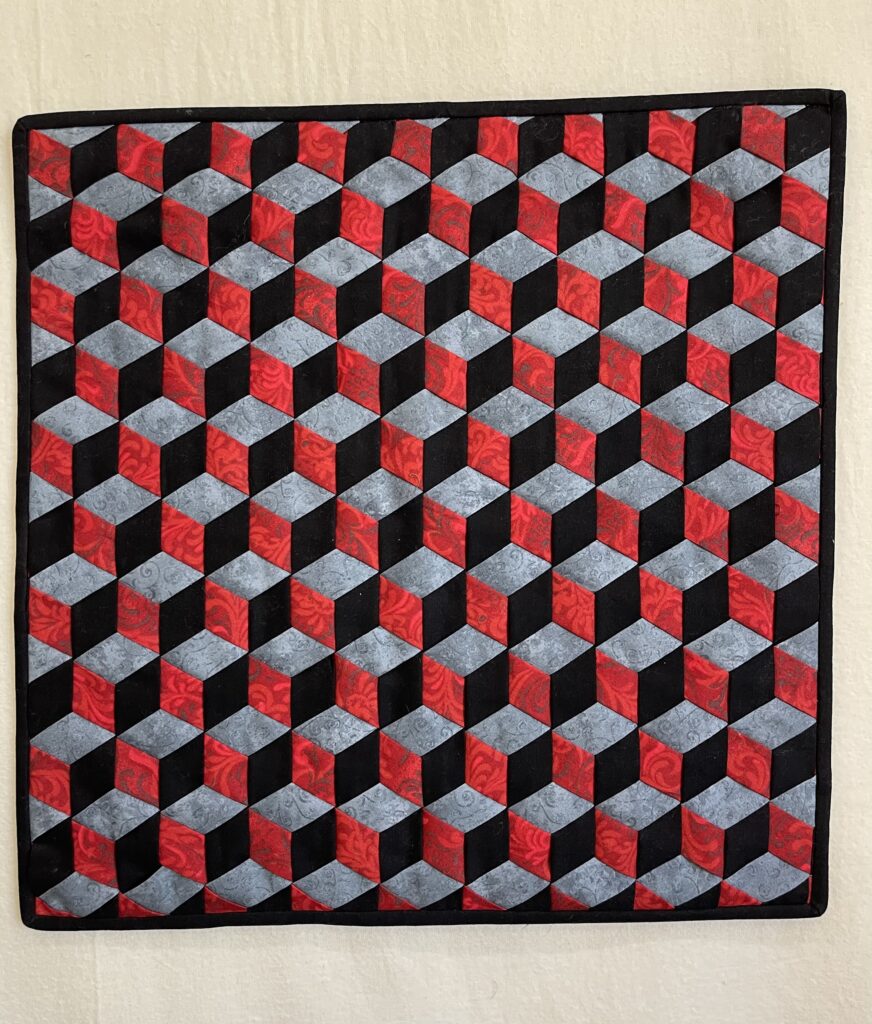
Triaxial Weave/Mad Weave – Tumbling Block Pattern

Finished size approximately 18-1/2” x 18 ½” up to about 20” x 20”

Jackie Watkins

  • ½ to 1 yard of base fabric – Fabric A – usually the darkest (See NOTE below)
  • ½ to 1 yard of second layer fabric – Fabric B – usually a medium (See NOTE below)
  • ½ to 1 yard of third layer fabric – Fabric C – usually the lightest (See NOTE below)
  • 1” bias tape maker – optional
  • Large foam board – at least 20” square.  (1/4” to ½” thick-thicker is better)
  • Sewing pins – Any will do, but I prefer Petite Pearlized Pins (3/4”) 150 per package from JoAnn’s
  • WEFTY needle – optional (and one pencil or stiletto) OR
  • Stiletto (2) or long pencils (2) – optional
  • 1 yard of some type fusible, fusible on one side only
  • Blue painters tape
  • Basic sewing supplies, including a long acrylic ruler with a 30-degree mark
  • Starch or Best Press – optional, but advised – starch works best
  • Fine tip black Sharpie type pen

STEPS

Drawing the grid on the foam board

Draw a line 1” from the bottom of the foam board and parallel to the bottom.

Using your ruler, place the 30-degree angle line on that drawn line, and line it up all the way to the right end of the first drawn line.   Place your pen at that right corner and draw a line all the way to the left.  Mark that line at both ends with an “A”.

Manipulate your ruler to do the same thing drawing another line from the left corner toward the right.  Mark that line at both ends with a “B”.

Where those two 30-degree lines intersect, place your ruler at that intersection.  Line up the bottom of the ruler to the first drawn line at the bottom of the foam board.  Place your pen at the 30-degree intersection to be sure you are directly in the middle.  Then draw your line as far as the ruler extends both ways.

To finish your grid, draw lines one inch apart from the A line, the B line and the straight up the middle line.    

Cutting fabrics

NOTE:  Here is why you will need ½ yard to 1 yard of each fabric.  Your first layer will be placed on your foam board parallel to each other.  These strips will probably be cut at about 20” long.  In other words, they are cut precisely the same length.  Therefore, ½ yard will be enough fabric and will yield about 20 strips if cut along the grain. 

The second and third layers are weaved at a 30-degree angle.  Using a ½ yard of fabric, if you cut all your second and third fabrics the same length along the grain, say 20”, your strips will not be long enough to weave at a 30-degree angle across the project. 

If you are using a yard of fabric, if you cut a few strips so that they are the width of the fabric, 44” or so, you can weave a strip at a 30-degree angle, and cut off what hangs over.  What hangs over won’t be enough to weave through the project for the next strip, but as you get closer to the corners, shorter fabric strips can be used.  All this to say, you will not want to cut all of your second and third layer fabrics at one time.  Cut three or four long strips, weave those, and re-evaluate.  I will demonstrate so that this will make more sense to you.  (At this time, I have not experimented enough to know if ½ yard of fabric will be enough to complete the project; therefore, I have suggested that ½ yard to one yard of fabric should be on hand.  Sorry I can’t be more helpful.)

Pull all fabrics as you cut them through the bias tape maker – or simply fold each long side to the middle and iron to make a 1” wide strip.  Starch or use Best Press if desired.  Starch is best to use. 

First Layer of the Weave– Fabric A

Place the fusible on the foam board making sure that the sticky side is up (not toward your foam board).  For this project, you will probably want to cut this fusible at least 21” by 21”.  It should fit under your entire weaved project. 

Cut Fabric A into 2” strips along the grain so that you end up with about 20 strips that are 18”-22” long.  Pull all fabrics as you cut them through the bias tape maker – or simply fold each long side to the middle and iron to make a 1” wide strip.  Starch or use Best Press if desired.  Starch is best to use. 

Line up side by side (no gaps between the strips) all your first layer of fabric strips.  These strips should be placed parallel to the straight line in the middle of your grid.

Securely pin the top and the bottom of each strip.  Hint – Place pin straight in and then angle it toward the top of the foam board for the top of the strips; and angled down for the bottom of the strips.

Second Layer of the Weave – Fabric B

Go back and read the note about cutting the Fabric B.  Cut a few strips of fabric.  Follow the instructions below for adding the strips.  Cut more strips as necessary.  Pull all fabrics as you cut them through the bias tape maker – or simply fold each long side to the middle and iron to make a 1” wide strip.  Starch or use Best Press if desired.  Starch is best to use. 

Identify your 30-degree mark on your board, particularly both ends of the A marked line.

If using a WEFTY needle, thread it.  Hold your WEFTY so that the wording is facing up and the tapered end faces down.  Thread the fabric strip into the eye of the Wefty and fold it underneath itself.  Use a stiletto or other long object to help hold up the strips you are weaving under.  You can always perform this step with your fingers.  Whatever works for you.

FIRST STRIP:  Starting at the right of your project, weave in your first strip going over one strip, under 2 strips, over one strip, under 2 strips, to the end. Make sure you line this strip up on the 30-degree line (using your A line) from the right corner upwards to the left.  With a two-inch overhang on each side, pin as described for the first layer, except put the pin straight in, and then angle it to the right on the right side, and to the left on the left side.  When pinning on the left side, use only ONE pin on this strip.   Again, each time you weave a strip, leave about two inches of extra fabric on each right and left side to make it easier for you when you get ready to square up your project.

Weave in your second strip by starting under one, over one, then under two.  Continue over one, under two, over one, under two upwards to the left.  Keeping a 2-inch overhang on each side, pin as described for the first layer, except put the pin straight in, and then angle it to the right on the right side, and to the left on the left side.  This strip and all remaining strips should be snug against the prior strip just weaved.  When pinning on the right side, use only one pin on the strip.  Outside the pinned area all the way to the left of this strip, take your Sharpie and number this strip “2”. 

Weave in your third strip by starting under two, over one, under two, over one upwards to the left.  Pin as described for the first layer, except put the pin straight in, and then angle it to the right on the right side, and to the left on the left side.  Outside the pinned area all the way to the left of this strip, take your Sharpie and number this strip “3”. 

The fourth strip is the same as the first; fifth, same as the second; sixth, same as the third, and so on.  You may want to mark each of these added strips as either 1, 2, or 3 as appropriate. 

Work your way up until your weaving is complete to the top.

Then go the bottom, right under where you weaved your first strip.  Remember that you are weaving under the first strip; therefore, the strip you are now adding is the same as the third strip that you added previously.  Keep adding strips in that manner, until the bottom of the weaving is finished.  Mark these strips to help you keep up with the next strip to weave.

Third layer – Fabric C  – (Whether using a WEFTY or stiletto, read through these instructions.  Directions are in the *** area if you are using a stiletto instead of a WEFTY***)

When weaving the third layer, thread the WEFTY holding the numbers and tapered end face-up. 

Look for a long diamond with a small diamond on each side of it.  We will refer to this as a UNIT. (This is sometimes referred to as a backwards Z or a bird with wings.)  Remember, you are looking at your project right to left, but you are weaving on a 30-degree angle.

Weave from right to left to start with, even if you have found that long diamond with the two small diamonds (a UNIT) in the middle of your project when beginning your Fabric C weaving. 

Place the weaver under the small diamond to the right of the large diamond – go under that one, the large one, and the other small one.  Remember, this a UNIT.  Then go over strips until you get to the next small diamond/large diamond/small diamond UNIT.  Weave as before, under the small diamond to the right of the large diamond, under the large one, and under the other small one.  Continue working toward the left until you get to the end.  Then focus to the right of the first UNIT.  If you had started in the middle and there are UNITS to the right, continue to weave in the same fashion to the right.  Caution:  Remember that you are working on a 30-degree angle.  It will be easier if you remember that, so that you can see that your weaving is being done in a straight line, but at a 30-degree angle.  This weaving will also be going right to left, but at a 30-degree angle, angled downward.

You will continue completing your grid working towards the top; and then finish the grid working towards the bottom. 

This third layer brings your weaving to life.  You now can see your tumbling blocks.

***If you are not using a WEFTY, but are using a stiletto, pencil, or some other long object, then here is what you can do.  Find the UNIT as described and place the stiletto under the UNIT.  Then place blue tape on the fabric strip to be weaved, attach it to the stiletto with blue tape, and pull it through the UNIT.  If desired and your stiletto is long enough, you can place the stiletto under several UNITS, tape as described, and pull the fabric through gently.  This works easily when using ribbon as fabric.  When using fabric, it can be more difficult because of the loose fabric underneath.  You will probably need to use another stiletto, a sharpened pencil with the led broken, a purple thang, or the like to help you manipulate under the fabrics.

Finishing

Without removing any pins and when all the weaving is completed, attempt to straighten all the weaving, making sure there are no holes, everything is straight, and there is no fusible showing.  Then iron the fabric to the fusible, being careful to not have so hot an iron it damages the foam board.  Then place blue tape or masking tape around the perimeter of the weaved item to hold those fabrics that do not get caught by the fusible.  When placing the tape, try to place it so that you will be able to sew right next to the tape and maintain the integrity of your weaved “picture” or ¼” away from the edge.  Remember, if you are going to bind this weaving, then leave a ¼” space from your main focus of the weaved item.  If you are going to face your project, more than a ¼” is usually required.  If you are going to use this item in a project, just remember to leave the appropriate seam allowance.  Remove pins as necessary during the taping step when the tape is going to be over the pins.  Once you have taped the perimeter, then remove all pins.  Carefully, take the weaved item to the sewing machine, and sew all the way around it at the outside edge of your seam allowance, using the tape as your guide.  Remove tape and iron again.

Sources

The best book I have found on this technique is Hex Weave & Mad Weave, An Introduction to Triaxial Weaving, by Elizabeth Lang-Harris & Charlene St. John (2013).  If you are highly motivated to make more weavings of different designs, this book is for you.  Google it and buy it fairly cheaply online.  Starting on page 68 you will find the section on Twill-Based Mad Weave, which will take you through patterns for the tumbling block, stacked spots, spots, pinwheel, basic star, and dancing star.  It will also give you the color combinations for other patterns.  The pattern is determined by the placement of the colors.

Go to youtube.com.

Two videos to consider:

  1. Type in the search portion – Introduction to Fabric Weaving with Mister Domestic Supplies, Tips for Beginners/Fat Quarter Shop Other Sources
  2.  Type in the search portion – How to Make a Triaxial Fabric Weaving Pillow Front with Mister Domestic/Fat Quarter Shop

The above are Mister Domestic videos.  Notice with your search that he has a lot more videos on fabric weaving.  These could be helpful in your weaving growth. 

Keep in mind, this is a rabbit hole you might really enjoy going down.  There are so many videos on mad weave or triaxial weave.  Put either of those terms in your search engine and enjoy the shows.  There are a lot of other types of weaving that you will stumble across, some even looking like origami.

www.sewmuchmoore.com/mad-weave/   This site is an extremely helpful tutorial on the tumbling block pattern.  Just don’t cut all your fabrics as she suggests. 

https://yahoo.com/craftindustryalliance.org/manufacturing-product-story-wefty-needle/  This site tells how the WEFTY needle came into existence.  It is a very interesting read and empowerment story for a woman entrepreneur.                    

Triaxial Weave

In November I’m privileged to be presenting a program and teaching a class to the Pinebelt Quilters on Triaxial Weave to create the tumbling box pattern. There are so many members of Pinebelt Quilters who attend the monthly meetings that I had to figure out an effective way to reach a lot of people at one time. To that end, Wayne, my videographer and husband, helped me to make an instructional video. I start with creating the grid on which the weaving is accomplished, and then go into a detailed explanation and presentation of each individual layer of weaving using grossgrain ribbon for ease in learning the technique. In addition, I discuss and help you finish your weaving to be used in any number of projects. If you would like to see this video to learn the tumbling block weave, go to my video on YouTube at https://youtu.be/hxqiXfwfUEE

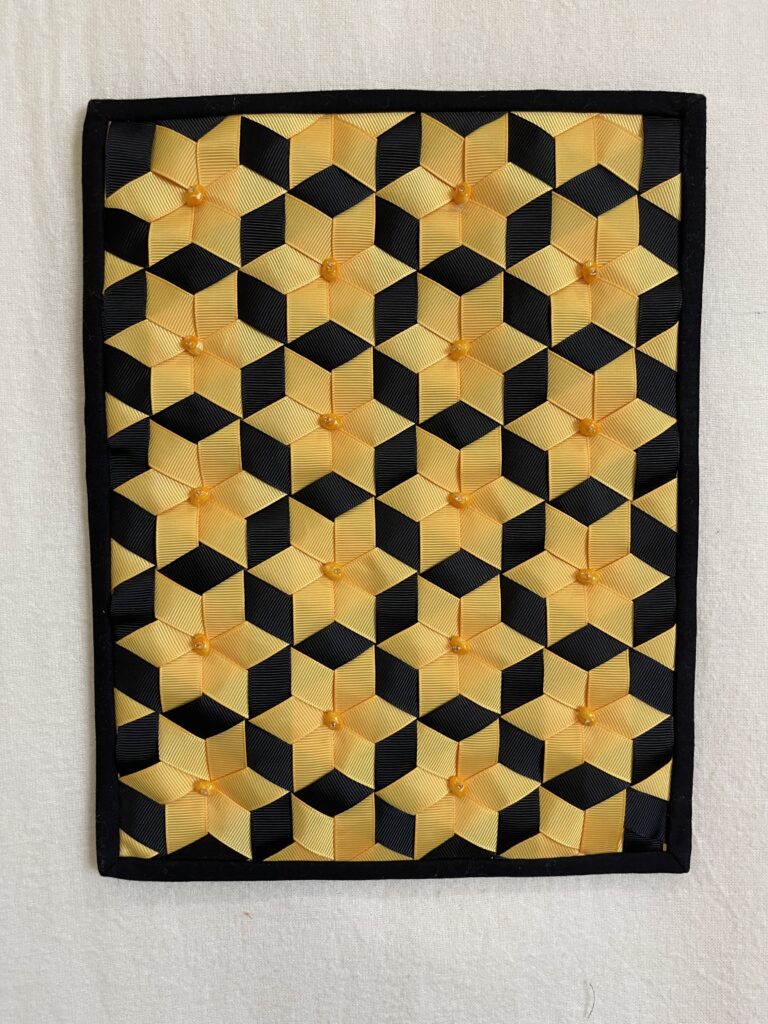
By the way, other patterns can be achieved simply by changing the placement of ribbon colors.

Tumbling Block
Stars

A surprise for a surprise

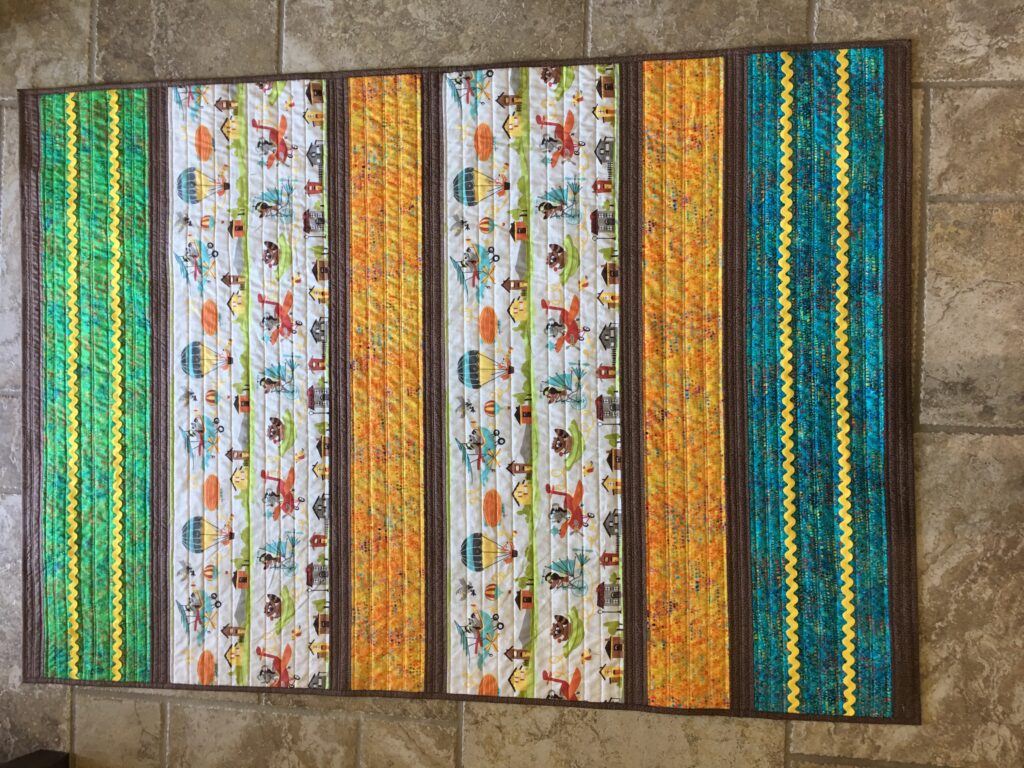
Brian and Cynthia are having a baby, and I made this quilt for them.

Teaching interleave (a Lorrie Faith Cranor technique)

I’m teaching an interleave class on Monday for a guild in North Mississippi. This is the class project. I’ll also be giving a talk entitled “A Trunk Full of Challenges “. This consists of showing many quilts made as a result of guild challenges. In other words, these are quilts that I would not have made , but for the challenges.
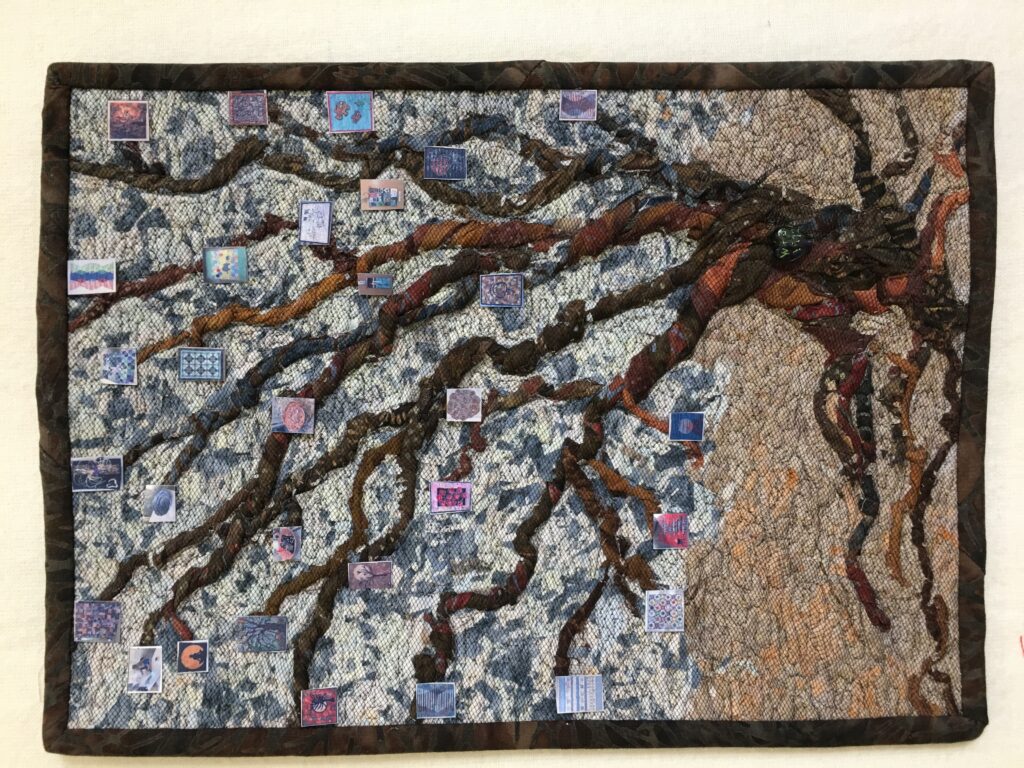
Southern Fiber Artists has issued a challenge to make an 8 x 11 quilt, portrait orientation, and being inspired by the color blue and the concept of self-portrait. My research indicates that a self-portrait should convey the essence of the maker. I thought about what my “essence” is and decided my twisted branches technique and confetti technique represent the essence of me. Every tree can use some leaves, and mine has sprouted tiny thumbnail quilt leaves representative of the types of original quilts and projects I create. Look closely for interleave interpretations (made famous by Lorrie Faith Cranor), bowls, table runners, mystery quilts, special occasion quilts, challenge quilts, as well as other aspects of my life (exercising, quilting with grandchildren, my marriage to Wayne in 1972, and more. This is who I am!

Teaching at Southern Fiber Artists

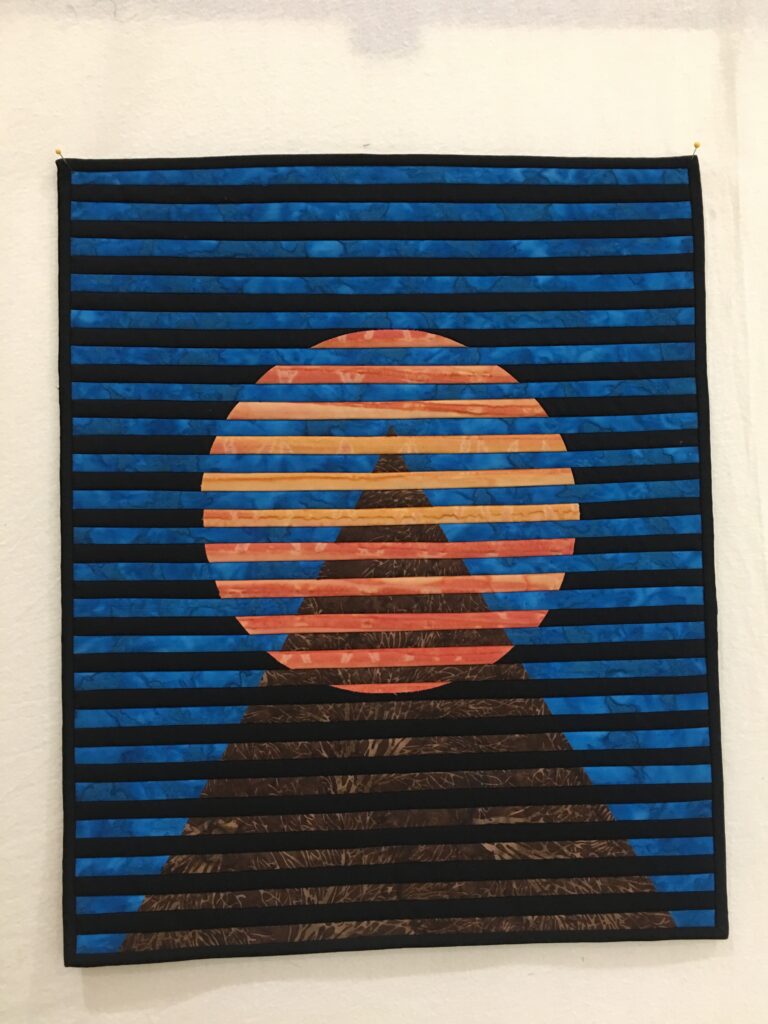
Martha Ginn and I will be using Martha’s adaptation of my Moon Over the Mountain Interleave Instructions to lead the members in making their own Moon Over the Mountain Quilt to measure about 18 x 22. Here’s my class sample!

Southern Fiber Artists Challenge

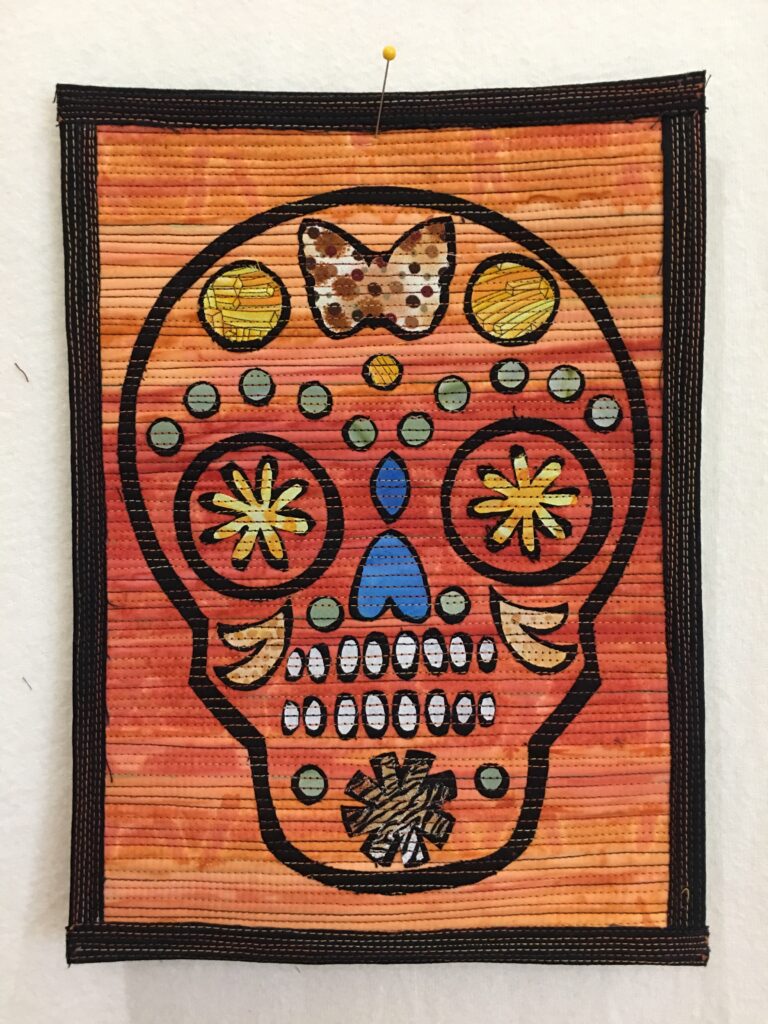
Southern Fiber Artists has issued a challenge to make an 8 x 11 quilt using the color orange and the subject of skull. Here’s mine.

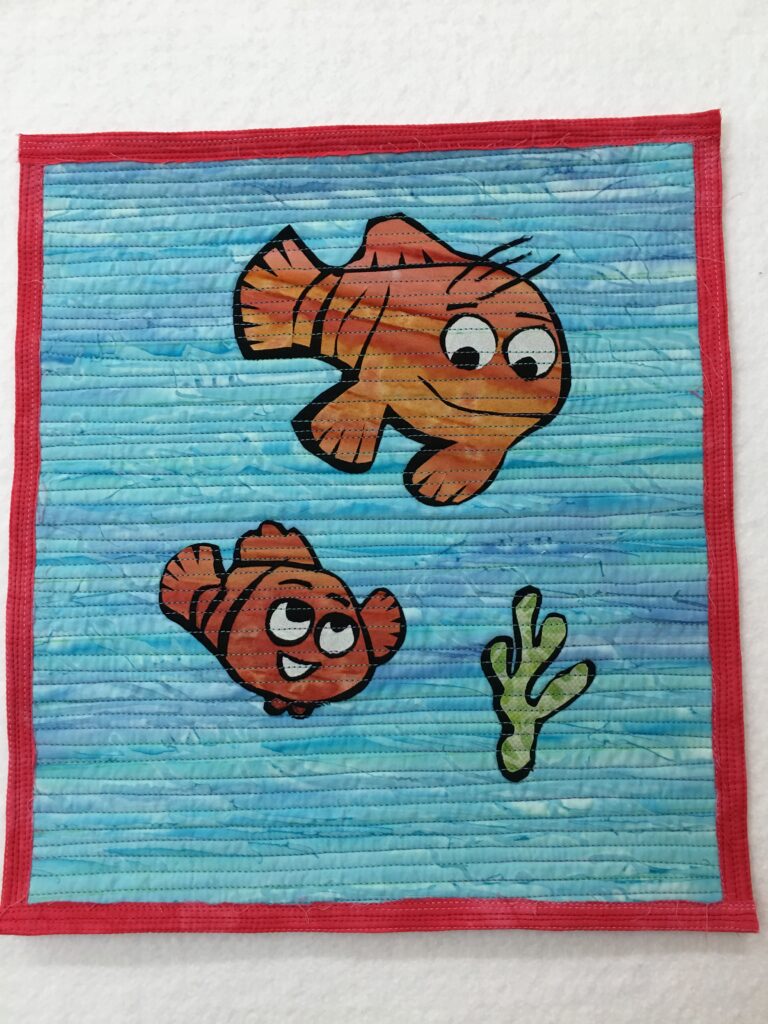
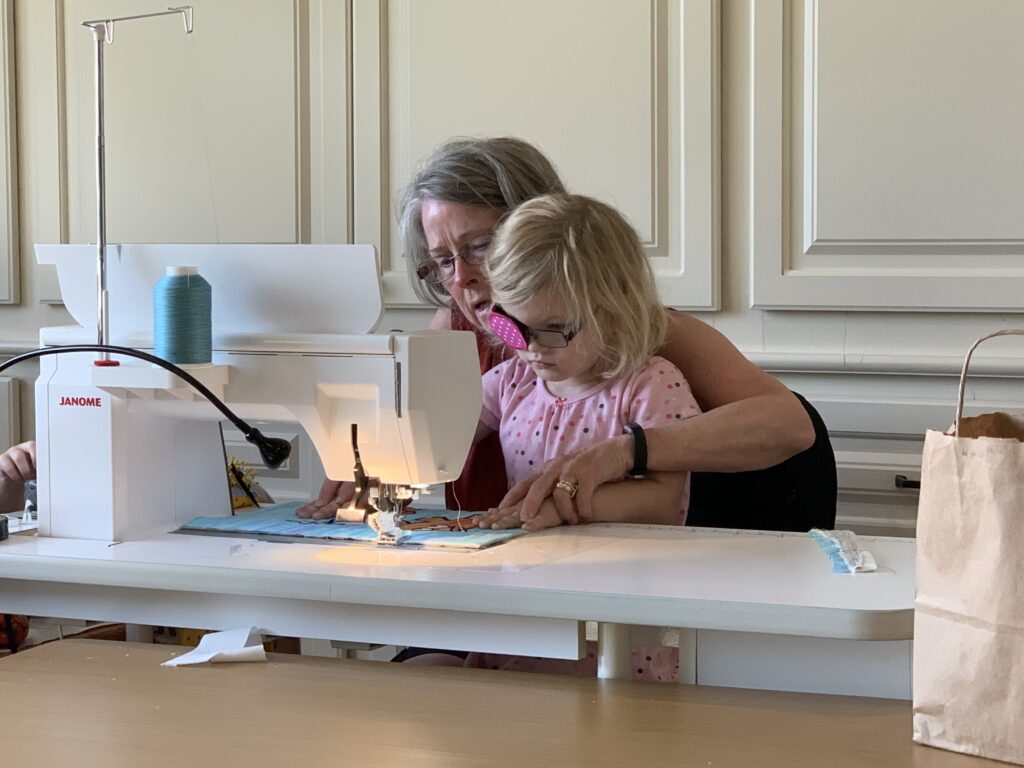
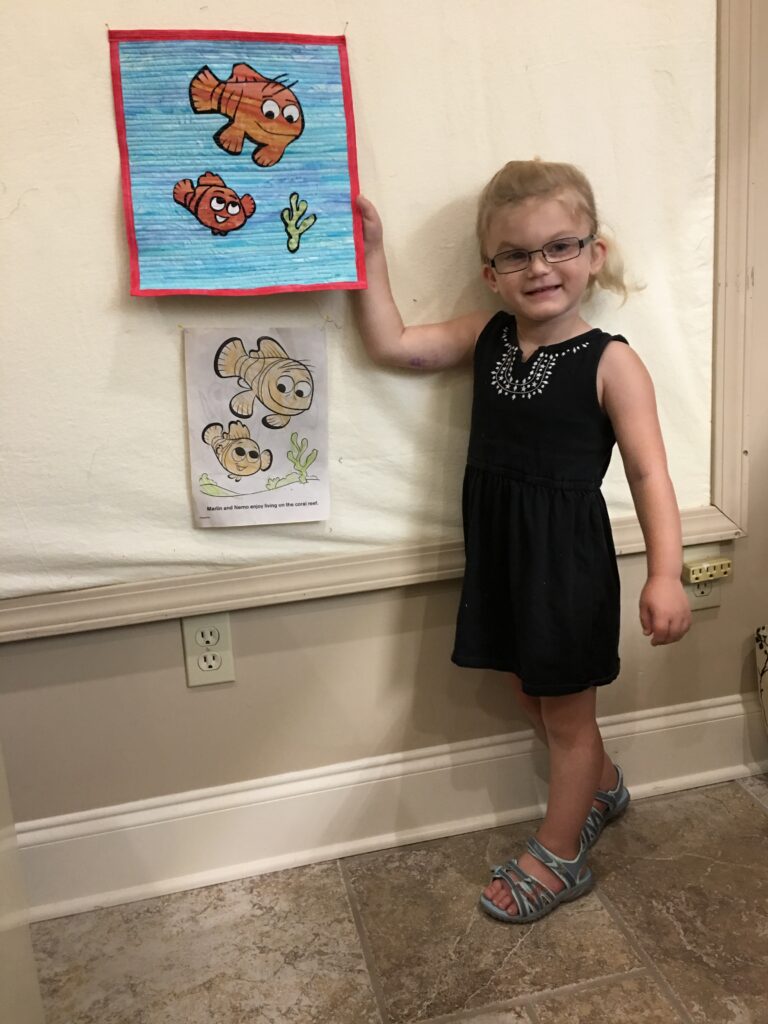
Helping the grandchildren with quilting

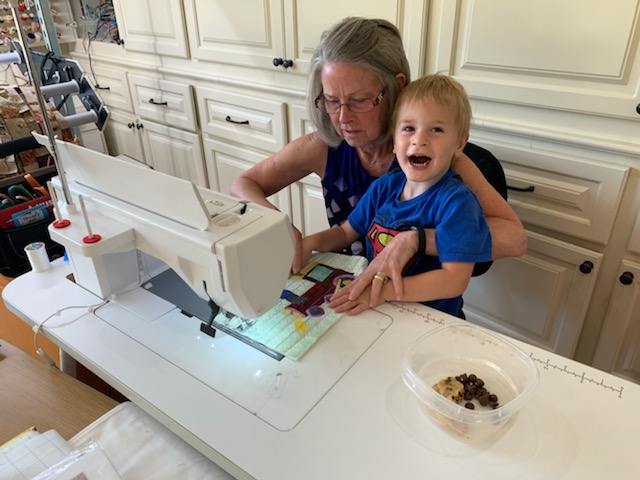
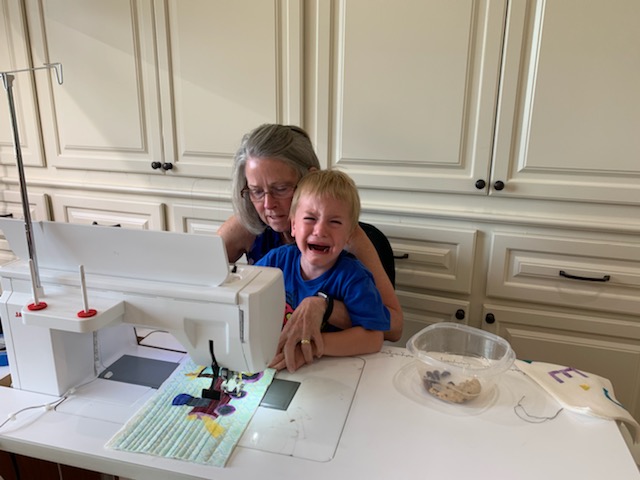
Kathryn and Karoline made a quilt for Jon. Rex quilted it with me. Rex became upset when I pushed the scissors button (just a habit) that he was assigned to push.

Happy!
Not happy at all!
Finished!
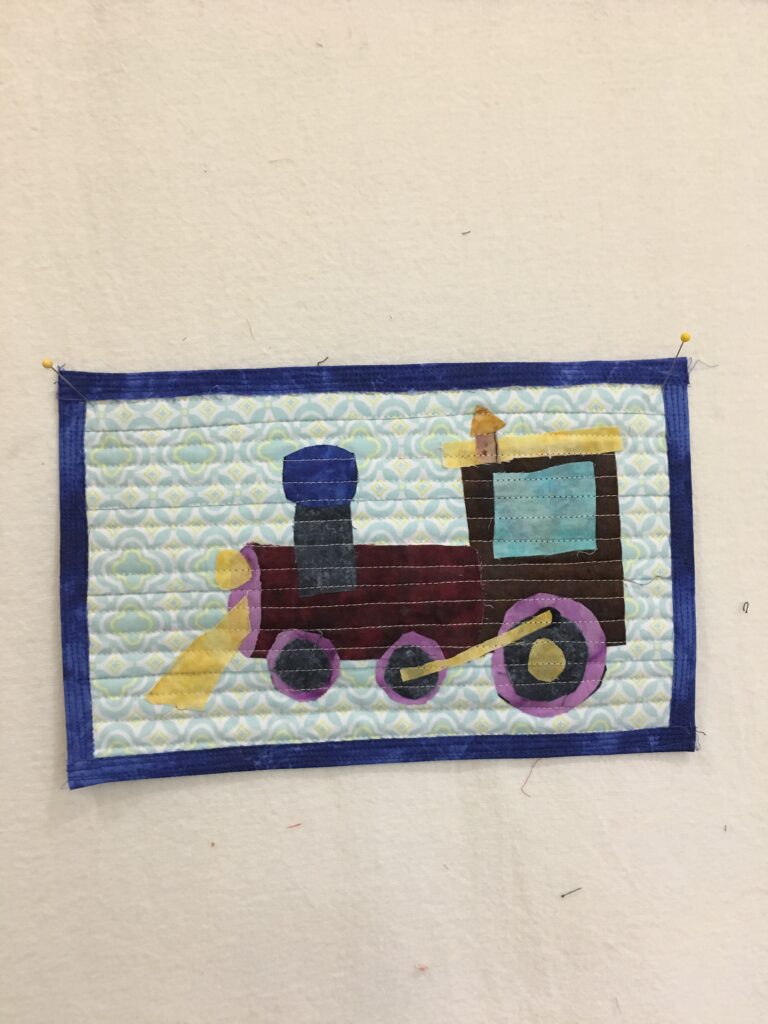
Rex’s first quilt, a puppy dog pad for his Paw Patrol dogs.

Betsy’s quilt for Wesley

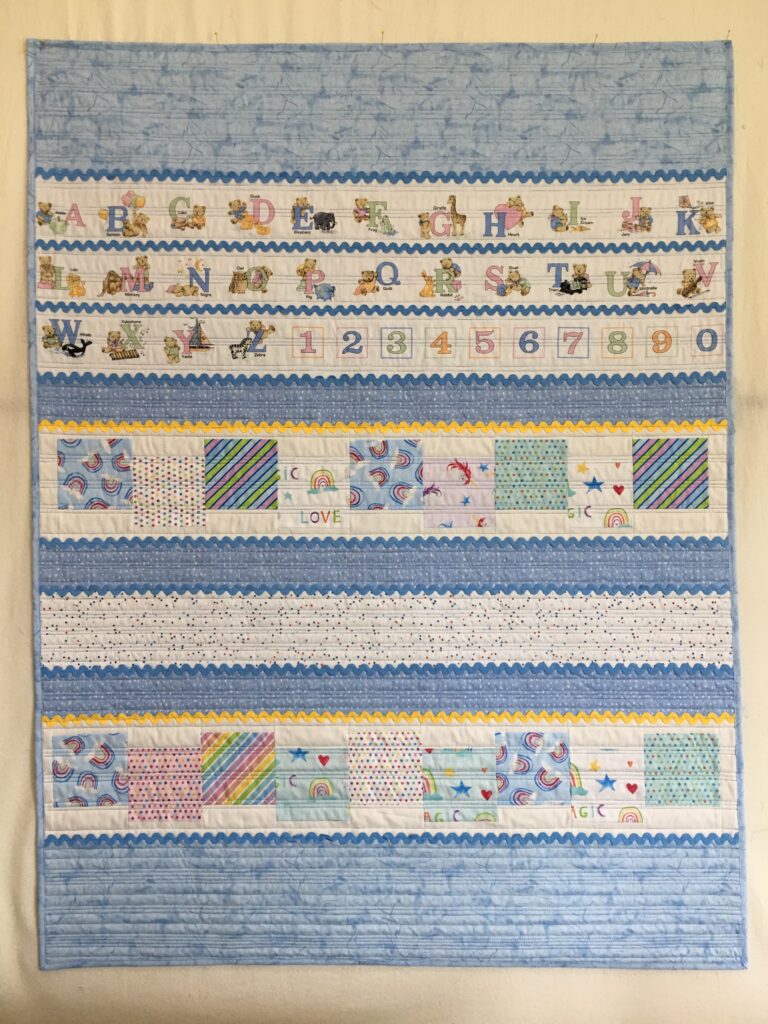
Betsy’s mom Melissa passed away some time ago. In her stash was a printed A B C fabric that her sister Christi took anticipating that Betsy would marry and have children. That time has come. Christi asked me to make a quilt using that fabric , and this is the result.

Karoline’s First Quilt

This is Karoline’s first quilt

Karoline showing us her work

We Love THIS quilt and we love this kid.

Powered by WordPress & Theme by Anders Norén